Deploying Neo Nodes on Server
Install Neo client#
- Install .NET Core Runtime on the server, 5.0 and the later version.
- From GitHub, download the Neo-CLI program and enable the Neo node.
Install plugins#
Some additional functionalities are individually encapsulated in plug-ins for the purpose of improving node security, stability, and flexibility. For more information, refer to Installing plugins.
Go to here to download plugins. Exchanges need to install the following plugins to get the complete functionality of transaction log API and automatic synchronization with the offline package:
- ApplicationLogs (Mandatory)
- LevelDBStore (Preloaded)
- RpcServer (Mandatory)
- RpcNep17Tracker (Recommended)
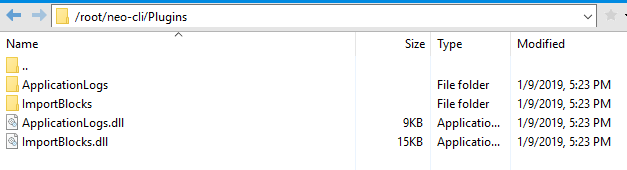
Unzip the plugin packages under the Neo-CLI root directory, as shown below, all the plugin files are extracted into the Plugins folder automatically.
You can also install plugins using CLI commands:
install ApplicationLogsinstall LevelDBStoreinstall RpcServerinstall RpcNep17Trackernote
- The RpcServer plug-in must be installed before you can use the RpcNep17Tracker plug-in.
- You must install the plugins ApplicationLogs and RpcNep17Tracker before synchronizing the Neo client, otherwise the log in the blocks synchronized before will be lost.
Modifying configuration files#
Before running Neo-CLI, you need to make necessary configurations in the Neo-CLI configuration files. For more information, refer to Configuring and Starting Neo-CLI.
caution
Be cautious to enable automatic opening of wallet. Before you do that, make sure your firewall is open and safe as Password specified in the file is in clear text.