Installing Neo-GUI
Neo-GUI is a full-node application on the Neo blockchain. It uses Electron cross-platform technology and currently can run on Windows 10 and macOS systems.
It has these main functions:
- Viewing and searching blockchain information
- Basic wallet operations, including creating wallets, importing wallets, transferring transactions, etc.
- Deploying and invoking smart contracts
- Election and voting consensus nodes
Downloading the client#
Neo-GUI is an open source project, thus you can download the installation package of the corresponding system version on GitHub , and complete the installation according to the prompts.
note
Make sure your Windows / macOS system has .NET 8.0 installed.
When installing on the Windows system, do not install Neo-GUI under the default path C:\Program Files, or you have to run the client with the administrator privileges to connect the client to the network and download the blockchain data.
Connecting to the network#
After installation Neo-GUI connects to the N3 main net automatically.
To connect the node to test net, go to any page and click Settings in the lower left corner. Then check Testnet.
If you have already built a private chain (see Setting up private chain), you can also connect Neo-GUI to it.
Find the
config.jsonfile of your private chain.Make sure that the address port configured in
config.jsonSeedList can be accessed from this machine.Go to the path
resources\build-neo-nodeunder Neo-GUI installation directory and find the fileconfig.private.jsonReplace the content of
config.private.jsonwith the content of config.json you found in Step 1Run Neo-GUI and go to any page.
Click
Settingsin the lower left corner.Under Network check
Privatenet.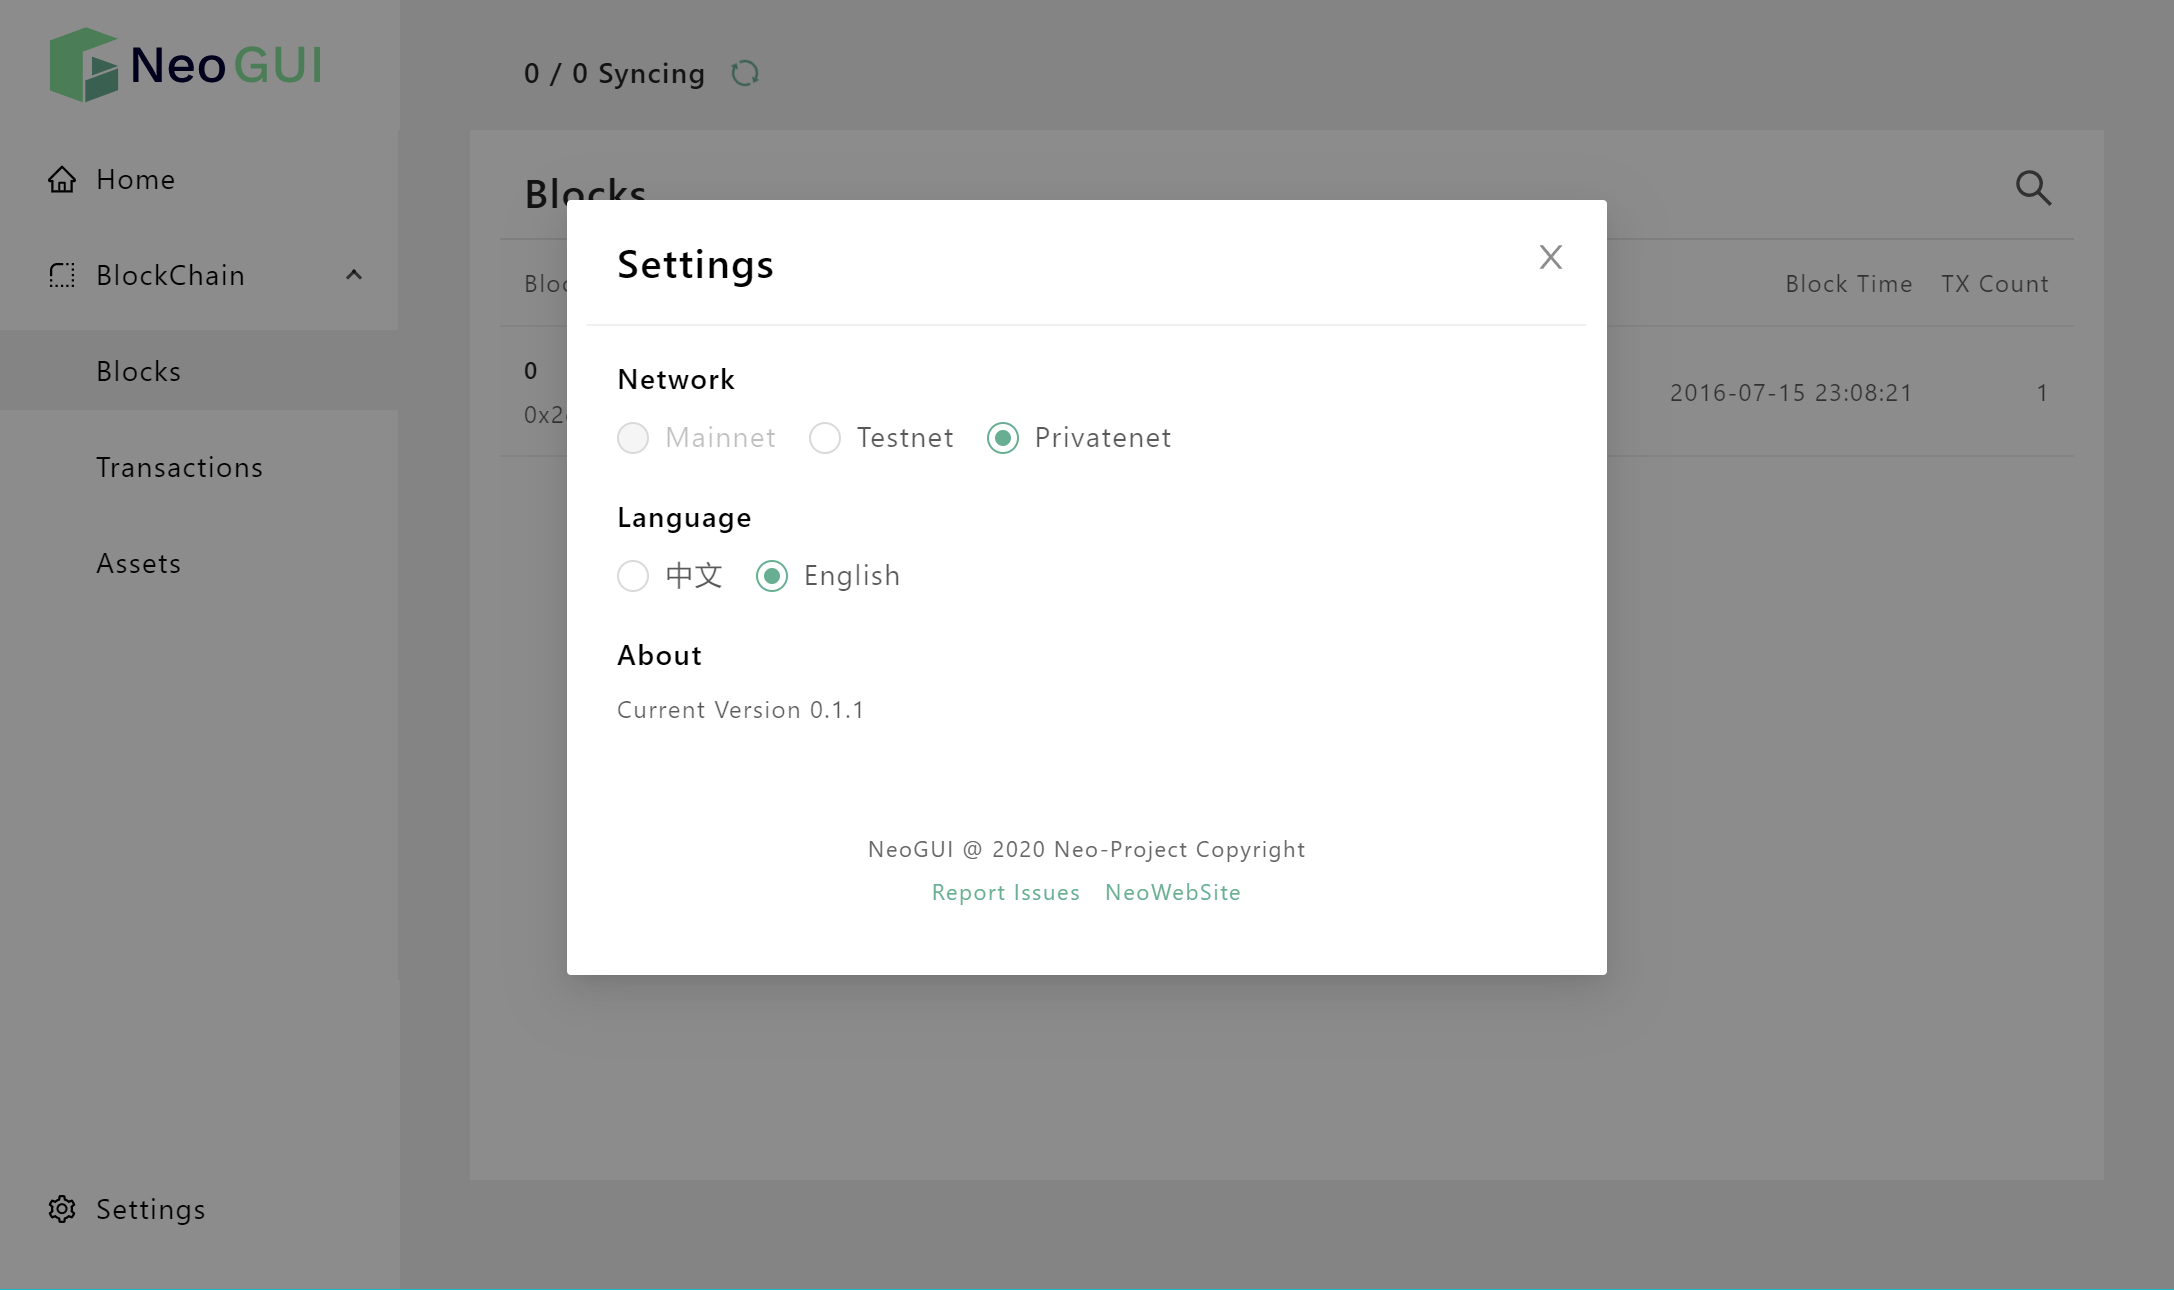
After a while, when you see the block synchronization data displayed at the top of the main page is increasing, that indicates your client has connected to the network successfully.